An introduction to {shinyValidator}
2022-11-14
Available tools

- Easier checking, linting, documentation and testing.
- Just … easier. 😀

- Fix package versions.
- Increased reproducibility.

- Unit tests: test business logic.
- Server testing: test how Shiny modules or pieces work together (with reactivity).
- UI testing: test UI components, snapshots, headless-testing (shinytest2).
Are there bottlenecks?
- Load testing: How does the app behave with 10 simultaneous user? shinyloadtest.
- Profiling: What part of my app is slow?profvis.
- Reactivity: Are there any reactivity issues?
 .
.
Stop … I am lost …

- There are just so many tools! How to use them properly?
- Is there a way to automate all of this? I just don’t have time … 😞
Add remote repo to local
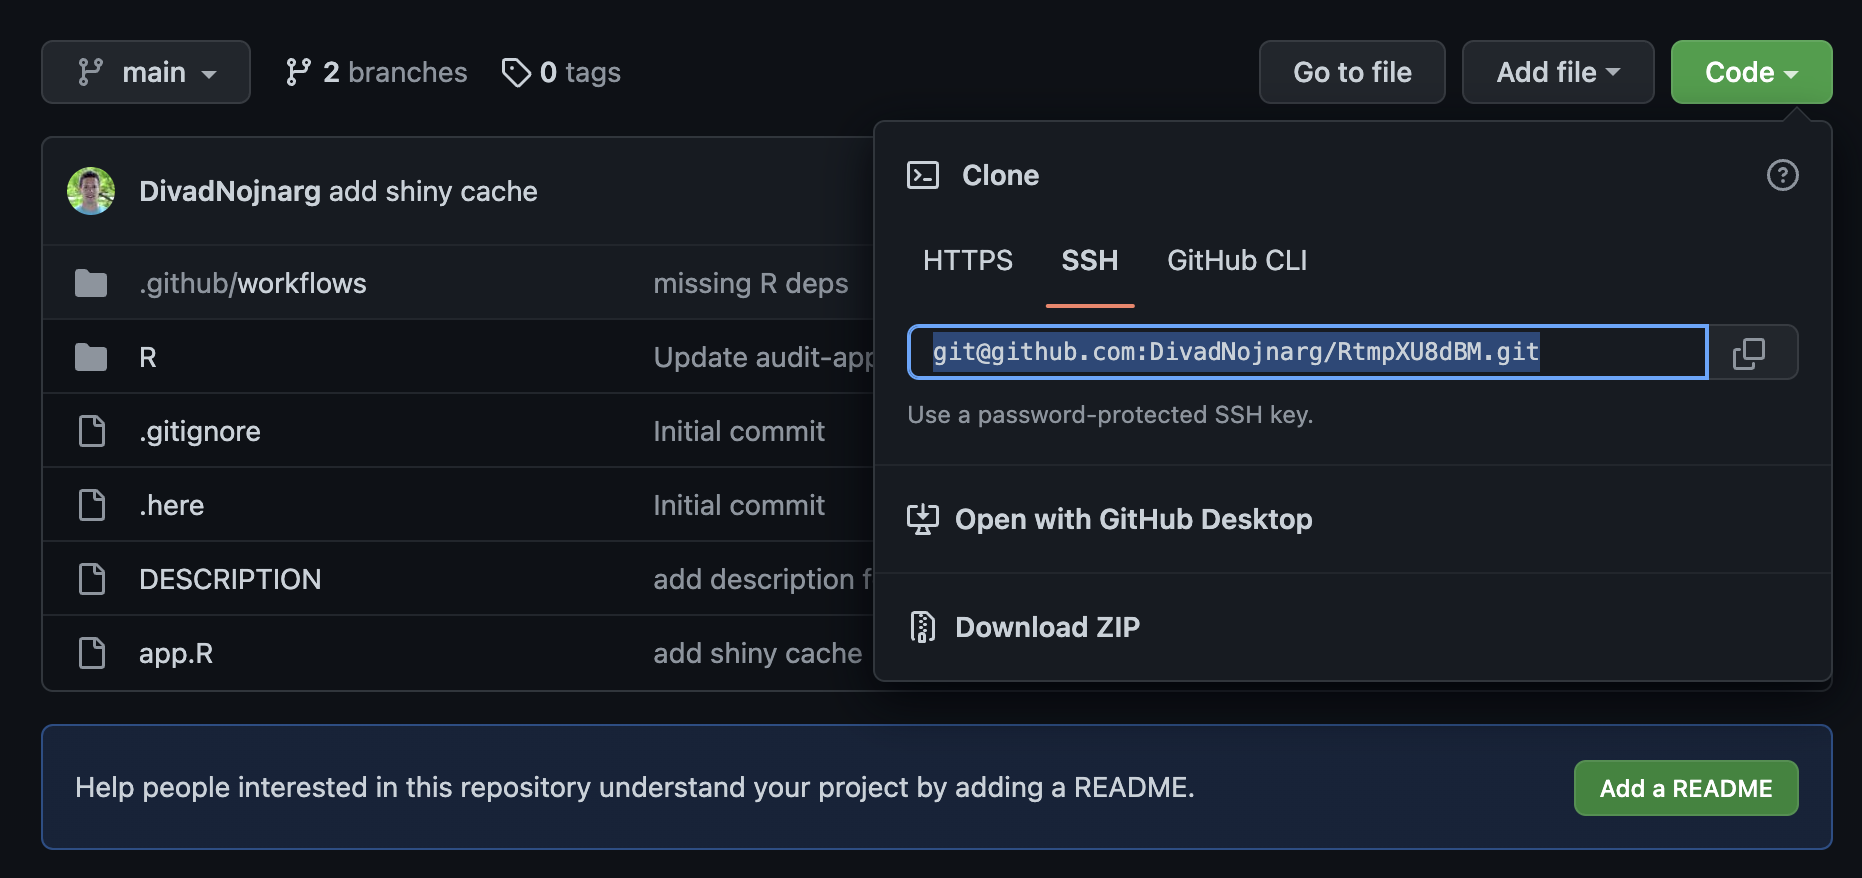
Go to terminal tab under RStudio:
{renv}

Audit app: headless manipulation (1/2)

This code is run during crash test, profiling and reactivity check.
Headless manipulation: your turn 🎮 (2/2)
Run the following code step by step1:
# Start the app
library(shinytest2)
headless_app <- AppDriver$new("./app.R")
# View the app for debugging (does not work from Workbench!)
headless_app$view()
headless_app$set_inputs(obs = 1)
headless_app$get_value(input = "obs")
# You can also run JS code!
headless_app$run_js(
  "$('#obs')
    .data('shiny-input-binding')
    .setValue(
      $('#obs'),
      100
    );
  "
)
# Now you can call any function
# Close the connection before leaving
headless_app$stop()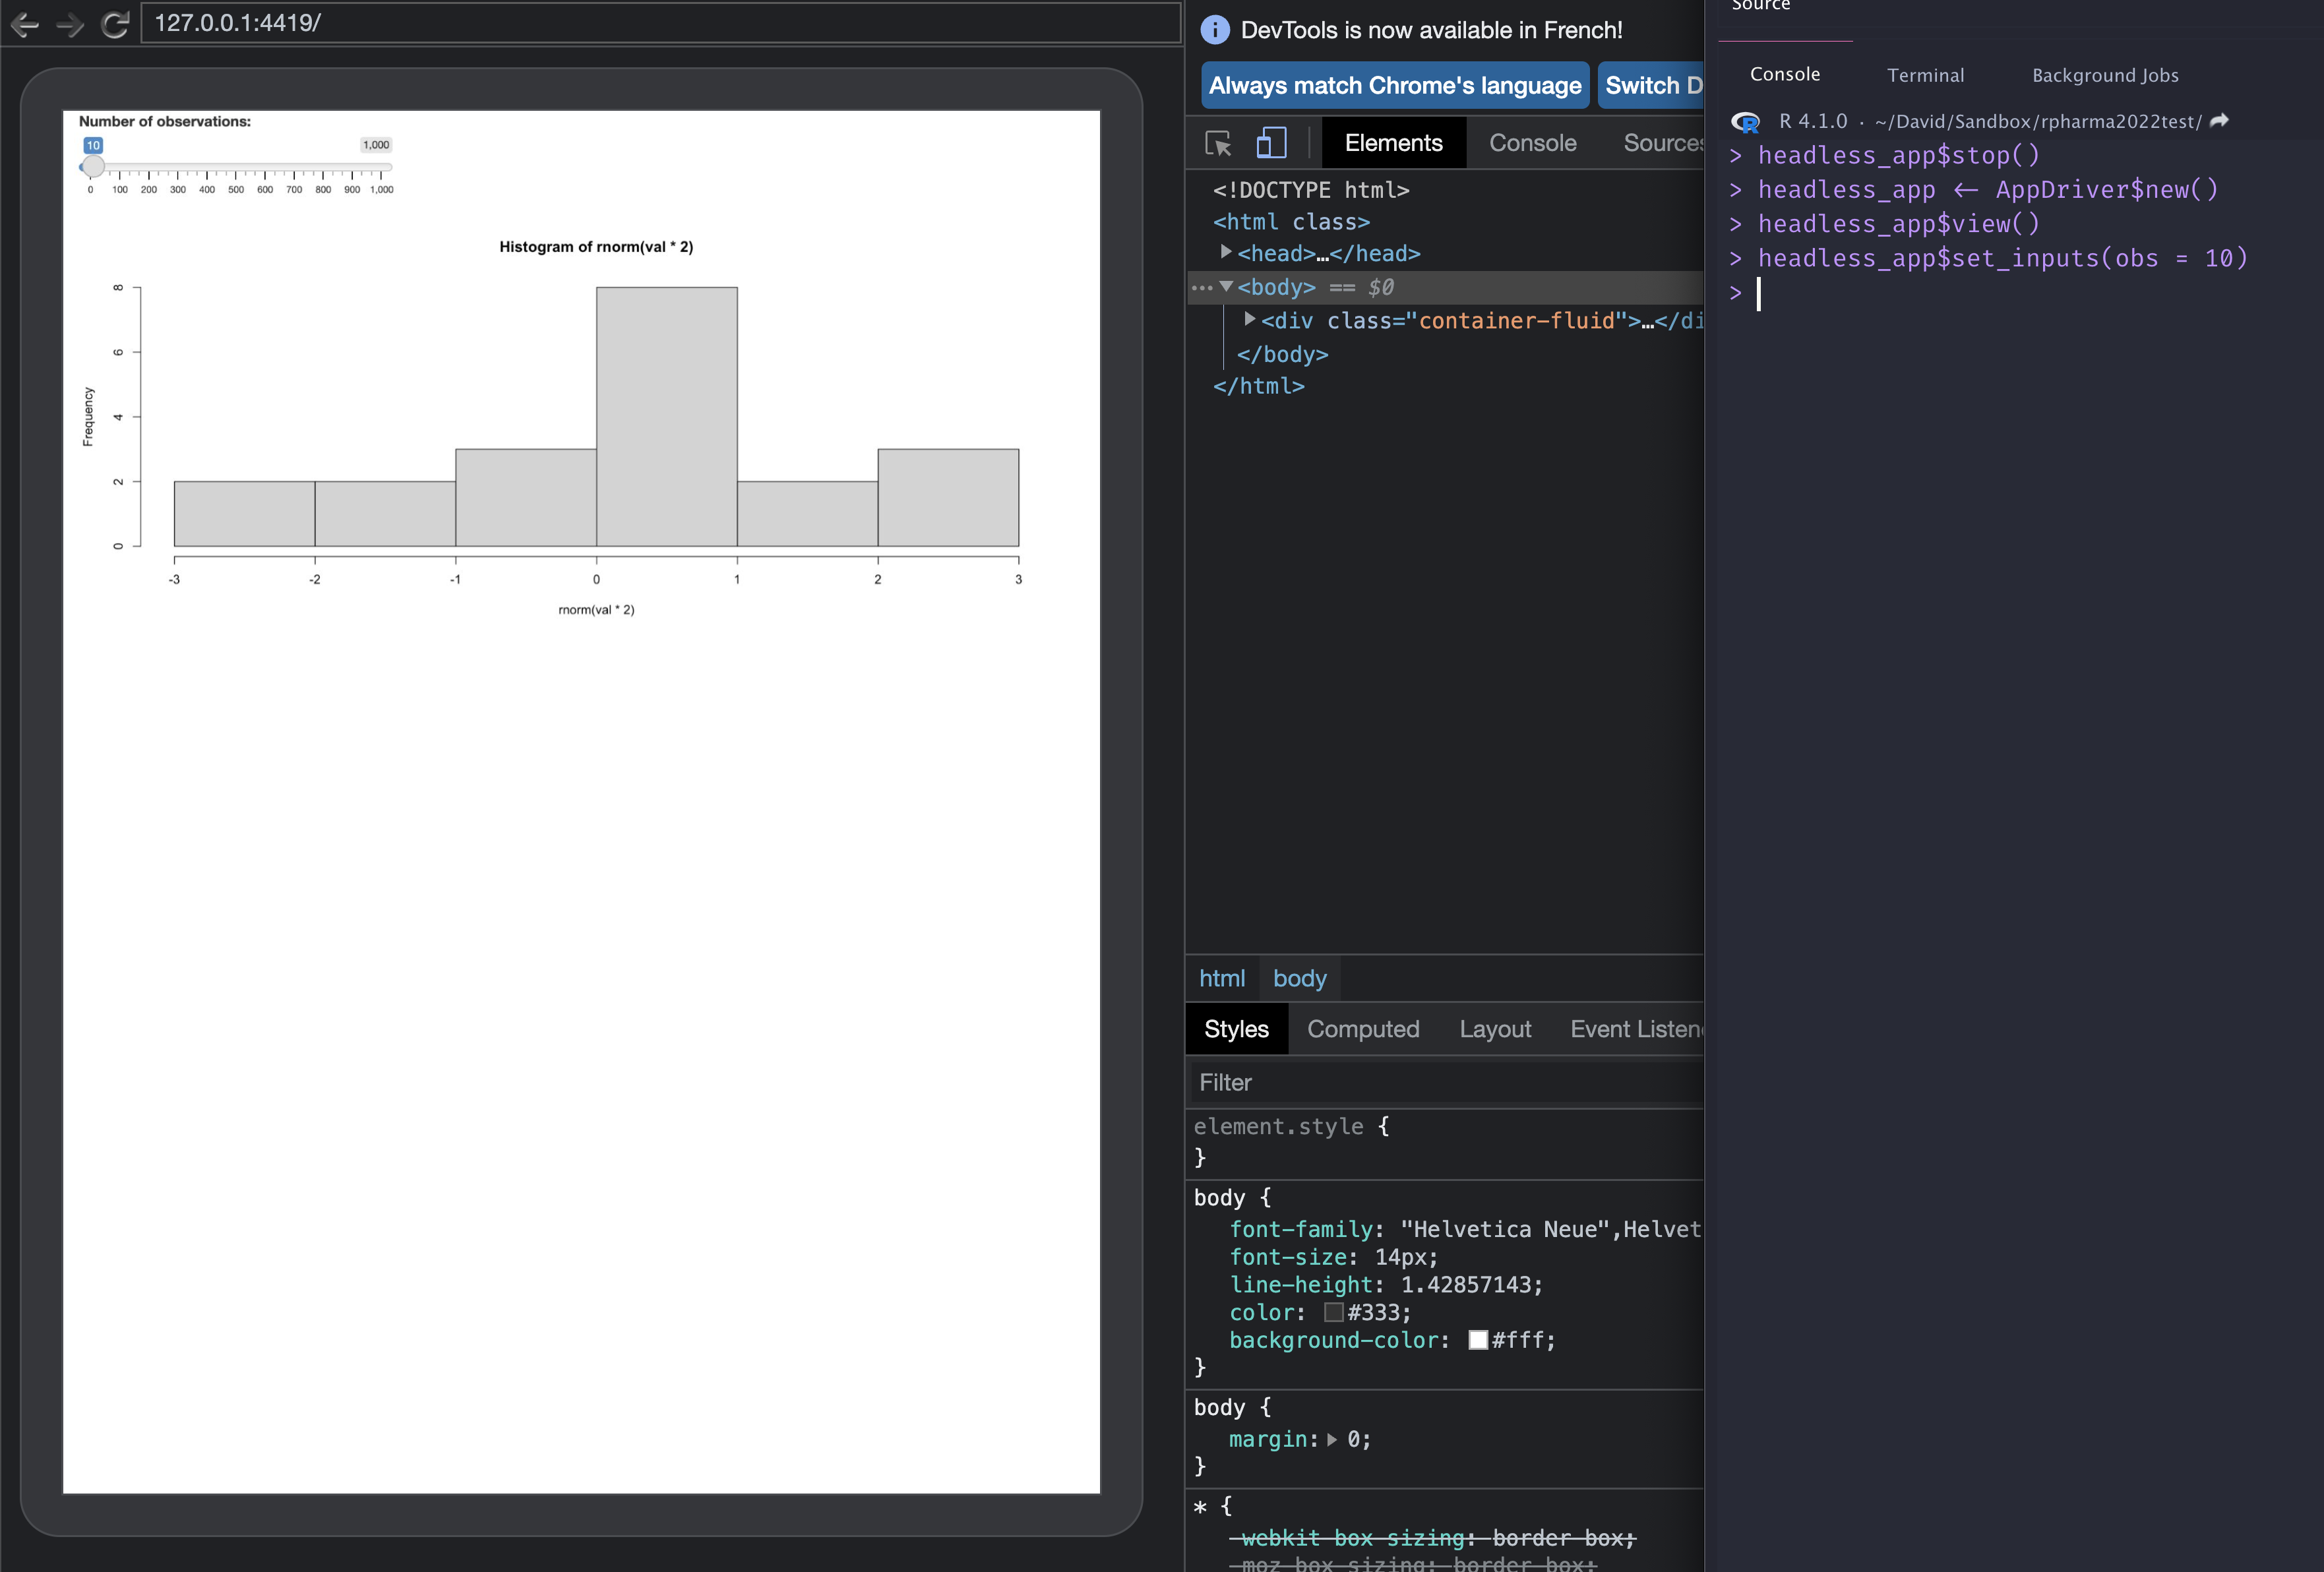
About monkey testing (2/2)
Your turn 👩🔬
- Run
./app.Rin an external browser. - Open the developer tools (ctrl + shift (Maj) + I for Windows, option + command + I on Mac).
- Browse to https://marmelab.com/gremlins.js/ and copy the Bookmarklet Code on the right.
- Copy this code into the Shiny app HTML inspector JS console.
- Enjoy that moment.

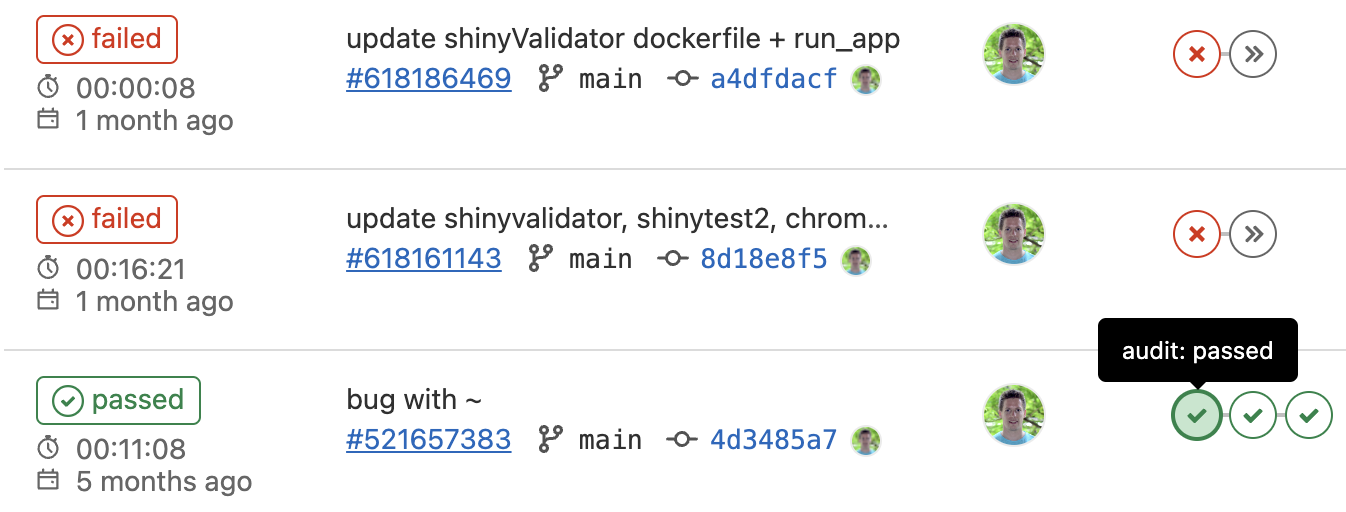
Pipeline output
Recommended reading

Mastering Shiny UI